Contents
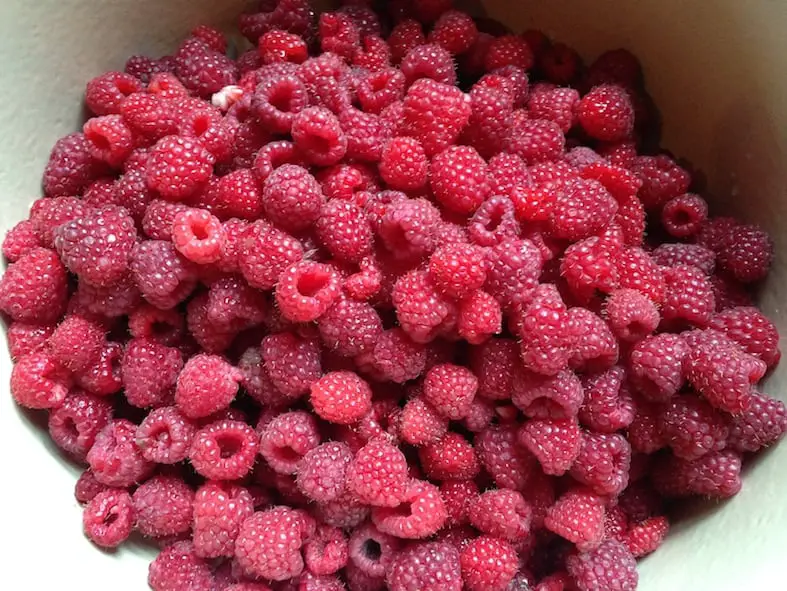
We’ve got Raspberries coming out our ears. It’s divine!
All our care and pruning paid off and we have been rewarded with a glut of fat, red fruit.
 When you’ve got this much fruit it can actually be a challenge to deal with it all before it spoils so we eat it fresh, we freeze it, we give some away and then, when there is still more left over, we turn it into jam.
After all, it would be wrong NOT to make fresh jam when you have the fruit to do so. Home made jam is so much better than the store bought stuff. And it’s so simple to make, especially Raspberry jam.
New comers to home made jam often come to the task thinking jam is difficult to get right.
There’s seems to be a common fear of the jam not setting and then having a great sticky batch of boiled up fruit to deal with, as well as the concern over hygiene and making sure you’re not preserving the nasties in your jars for consumption later, along with your jam.
But honestly, jam can be really easy and once you’ve got past the hurdle of trying it, you won’t ever look back.
Seedless Raspberry Jam
I decided to make our jam seedless this year since my step son tends to turn his nose up at the Raspberry Jam, just because of the seeds. He likes the flavour but, like most kids, he doesn’t cope with the texture.
It’s a bit of a faff getting the seeds out of Raspberry Jam since there are so many of them, but worth the effort if it means everyone gets to enjoy your delicious home made spread.
Also, for this recipe, I’ve reduced the amount of sugar. Often jam recipes are equal amounts fruit and sugar but after removing the seeds there is a little less fruit to match the sugar. Plus, I like my jam to definitely have that slightly tart fruit taste, not be overwhelmed by the sugar.
Ingredients
- 1kg of fresh Raspberries
- 800 grams of Sugar
- Juice of one lemon
Equipment
- A large pan – I have a dedicated preserving pan which doesn’t get used for anything else
- A plastic bowl
- A fine metal mesh sieve
- A tablespoon
- A wooden spoon
- A clean ceramic plate
- Clean jars and lids – don’t get caught up believing the purists when they tell you, you need special preserving jars, you don’t, just recycle the jars with freshness button lids that you end up with through your normal food consumption.
To get started simply put your 3 ingredients into a large pan. Begin heating the jam and while it’s starting to heat up, put a small plate into the freezer for testing your jam on once you’re ready.
Now is also a good time to put half a dozen clean jars into the oven, on a tray, at 150° Celsius (300° Fahrenheit) to sterilise. It’s always better to sterlise more jars than you think you’ll need, just in case.
Bring the jam to the boil and then boil hard for 5 minutes. Don’t forget to keep stirring!!
Once you’ve boiled your jam for 5 minutes turn the heat off and then, using a fine sieve, strain the jam into a clean bowl. You should end up with the liquid of the jam in the bowl, and the fruit and seeds in the sieve.
Carefully pour the liquid back into your pan and then using a metal spoon, begin working the fruit through the sieve, leaving only the seeds behind. This is where it all gets a bit boring and messy to be honest. You have to work the fruit quite a bit and use the spoon on the bottom of the sieve to keep the mesh clear. It’s definitely a time drain task, but not difficult. It just takes a bit of patience.
Once you’ve worked out all the seeds, or as many as you can be bothered with (fewer seeds seems to be good enough for some people), discard them and turn the heat back on to bring your jam back to the boil.
Boil the jam for another 5 minutes and then begin testing it for set point.
To do this, take a teaspoon of jam and drop it onto your cooled plate. If the jam runs you need to keep boiling. If it begins to firm up and resists having a finger pushed through it, you’re heading towards set point. This shouldn’t take more than the 10 minutes total of boiling. You don’t want to overcook your jam as it will ruin the flavour.
Alternatively you can use a candy thermometer to check for set point, which should be at approximately 105° Celsius, but it’s the pectin in the fruit that will set the jam, not a certain temperature, so I’ve never gone with the heat check and use sight and feel instead.
Once you have your set point, turn the heat off and remove your jars from the oven.
VERY carefully pour your jam into the jars leaving a 1cm headspace at the top of the jar.
Wipe away any jam from the top of the jar and then screw the lids on tightly. When the jam cools the freshness button on the lids will be pulled down and you should hear the pops of the lids as this happens. That’s a sound of success for me!
Store your jam in a cool, dark place and then enjoy the taste of Summer, all year round : ) Enjoy Seedless raspberry jam 🙂
Want to know more about gardening ?
Fill in your email address in the form below and you'll receive all the latest updates directly in your in-box.
Thank you for subscribing.
Something went wrong.
You will find it much easier and quicker to warm your raspberries crushing with a potato masher then pass the pulp through a nylon seive with the back of a s/s serving or tablespoon scraping the back of the seive against the bowl as you go to “drag ” off the juice.
Measure the warmed juice and add 1lb of sugar(450grms) to each pint (500ml) of juice into a preserving or large pan ensuring that there is enough room for the jam to rise with a full rolling boil. Bring slowly to the Boil, stirring occasionally.
Boil until setting stage is reached 225 deg F or until a little jam is placed on a cold plate left for a minute or two wrinkles when pushed with a spoon, or it coats and wrinkles on the back of a spoon time will vary as to how big a batch you make at a time, small batches tend to take less time so don’t worry if a large batch takes 20 mins or more!
When setting point is reached pour hot jam into sterilised hot jars filling almost to the top with just enough room to place a small waxed disc ( wax side down) on top of the hot jam, care should be taken not to burn your fingers here! The less space the better for air as if jam does not seal properly and there is air space left your jam could go mouldy, well cleaned and sterilised jars and lids ensure you jam will last for years if you can wait that long!
Have your sterilised lids ready to put on your jars as soon as they are filled as they will then form a vacuum ensuring a long life.
Yes I agree with you, it is much easier to seive before you add the sugar. Not quite sure why you cant find recipes with this information, this is only by experimenting I found this way easier
This turned out great! Thank you!