If you find Brussels sprouts addicting, then you’ve come to the right place. What’s better than eating fantastic-tasting Brussel sprouts? Ding, ding, ding, growing them of course. Growing Brussel sprouts is a great hobby to have and in this article, we’ll be discussing everything you need to know to grow your own delicious Brussel sprouts but first, let’s cover the basics.
Brussel Sprout Basics

It’s a Vegetable: Brussels sprouts belong to the mustard family and happens to be a form of cabbage. It also has a savory taste when cooked but this isn’t what makes it a vegetable because some fruits have savory tastes too. However, it is a vegetable because, by definition, it is a part of a plant that is used as food.
Method of Propagation: Brussels sprouts bear fruits therefore they can either be planted directly from their seeds or transplanted after a few weeks.
Planting Season: Brussels sprouts are described as cool-season crops. Therefore, they are best grown in either Spring or Fall.
Harvest Period: Brussels sprouts are ready for harvest after the first frost as it helps improve their flavor. They are also described as a slow-growing crop because they mature within 100 – 180 days after planting.
USDA Hardiness Zone: Depending on its variety, Brussels sprouts can grow in zones 2, 3, 4, 5, 6, 7, 8, and 9. This tells us that it’s a somewhat versatile plant.
Planting Soil: Any soil type that is well-drained, moist, fertile, and rich in organic matter will do for growing Brussels sprouts.
Ideal pH Planting Levels: Acidic soils with pH levels ranging between 6.0 and 6.8 are the best for growing Brussels sprouts.
Soil Temperature: Cool temperatures ranging between 10 C and 24 C are ideal for the growth of the vegetable. For optimum growth, a small margin of 15 C to 18 C is best.
Exposure to Sunlight: Brussels sprouts love daily exposure to sunlight and a minimum of six hours will do them justice.
Planting Brussels Sprouts

Prepping your Soil: It’s been previously established that any well-drained, nutrient-rich soil type with acidic pH’s ranging between 6.0 and 6.8 will do. To be sure about your soil’s pH, simply buy a test kit or send a soil sample to any regional Cooperative Extension office near you. The HSTMYFS Soil test kit is a recommended option as it has a high level of accuracy and is quite easy to use.
If your soil’s pH is less acidic, simply add some lime to increase its acidity and measure the pH with your soil test kit till it falls within the desired range.
Also, apply some fertilizer that is nitrogen and boron rich to the soil. You’ll realize that they require boron more than other vegetables, else, they’ll produce small buds and have hollow stems.
To add boron to the soil, simply dissolve a tablespoon of borax in 6 quartz of water and spray it evenly over a 50 ft garden bed. Excessive addition of boron could damage the plants as it is after all a micronutrient and should only be consumed in small quantities.
Also, ensure that your planting spot gives them at least six hours of exposure to sunlight. Afterward, spread some composted manure over the bed before tilling it into the soil.
Good to Read : How to Grow Garlic in Water
Planting your Brussels: Once the soil beds have been prepped, it’s time to plant your Brussels. Remember that you can choose to sow seeds from scratch or choose to but transplants. Either way, if you choose to plant them during spring, ensure that they are planted at least two weeks and at most three weeks before the last frost date. If you’re planting them during fall, then it should be four months before the first Fall frost.
Plant the seeds a half-inch into the soil. Ensure that they are planted in groups of two or three per spot. Once they begin to germinate in about a week, space them further apart. They should be spaced 24 inches apart within a row and 30 inches apart between rows.
Ideally, you should plant your seeds in pots and containers indoors and after about three weeks you can them into the prepped rows. Transplants should be planted a little deeper into the rows than you would have them planted in pots.
Ensure that your seedlings are watered regularly, especially when they do not receive enough rain.
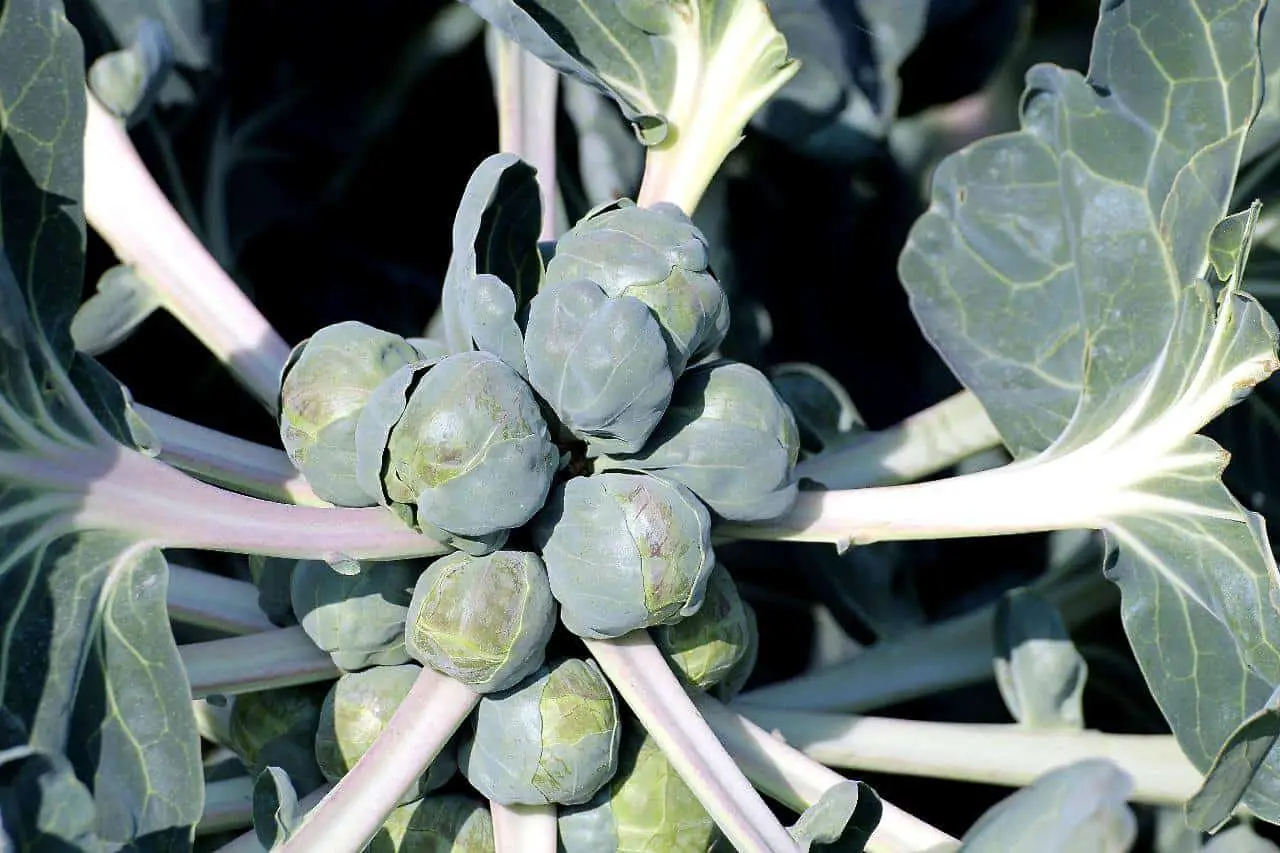
Harvesting and Storing your Brussels: You’ll notice some sprouts forming at the bottom of the plant and later you’ll notice them towards the top. When the heads are about two inches in diameter, green, and firm, they are ready for harvest.
To harvest them, simply twist them off the plant. The plant will continue to grow upwards and produce more leaves this way. You can also pluck out the yellowing leaves.
If you’d like for all your sprouts to mature at the same time, one effective trick to use is cutting off the top of the plants some weeks before your desired harvest date. You’ll notice new sprouts growing in that spot. A single Brussel Sprout can produce 2 or 3 sprouts.
The older the plant, the better it’s able to withstand cold temperatures.
Once you’ve harvested the sprouts, you can choose to store them in bags in your refrigerator. They should remain fresh for at least three days.
Finally, when growing Brussel sprouts, there are some things that you should watch out for. They include insects like cabbage worms, harlequin bugs, thrips, and webworms to name a few. They also include several fungal diseases like Alternaria leaf spot, Black rot, Clubroot, Downy mildew, and Fusarium wilt to name a few.
The diseases are primarily rampant because of the cold moist conditions needed for Brussels growth because they also foster the growth of fungi. Effective control methods for fungi and insects will be the use of fungicides and insecticides.
Good to Read : How To Grow Asparagus In A Container
Want to know more about gardening ?
Fill in your email address in the form below and you'll receive all the latest updates directly in your in-box.
Thank you for subscribing.
Something went wrong.