Garden shears are god sent tools for the gardeners that make pruning and trimming easier. They help you to maintain your garden plants and upgrade the look of your garden. A beautiful garden is something each one of us loves. To ensure your plants are in proper shape, you need to keep your garden shear in proper shape. You definitely don’t use your garden shear every day and only at times of gardening. Being kept in your garage or any other place, it is possible that it might have gotten a bit rusty or blunt and is not cutting cleanly. Here what you can do is sharpen up your garden shears so that they get their efficiency back. There are certain steps that you can follow to sharpen your garden shear. However, before we delve into them, let’s first discuss about them.

Garden Shear
A dedicated gardener is aware that there are various creative ways through which you can turn your garden into an attractive and beautiful haven. You have to face several challenges while maintaining your garden and the sharpness of the tools. Gardening shears or pruning scissors are a must-have tool for those who want to take care of their plants well. They are used to cut plants or branches that are up to 2 cm in diameter.
Though they are available in a variety of models and sizes, typically, garden shears are of two types- Bypass and Anvil Shears. The first one works like a scissor and features curved blades. The bypass shear upper blade is sharp and cuts the branch, while the lower blade is similar to a hook and holds the branch to prevent it from slipping or sliding. On the other side, the anvil shear features a sharp upper blade while a flat lower blade.
Gardening shears are more than just cutters. They help you enhance your plants’ beauty and bring back their attractiveness. They can cut cleanly and precisely the thickest stem and branches. Plus, through them, you can also cut plants in a smaller size for the composite pile.
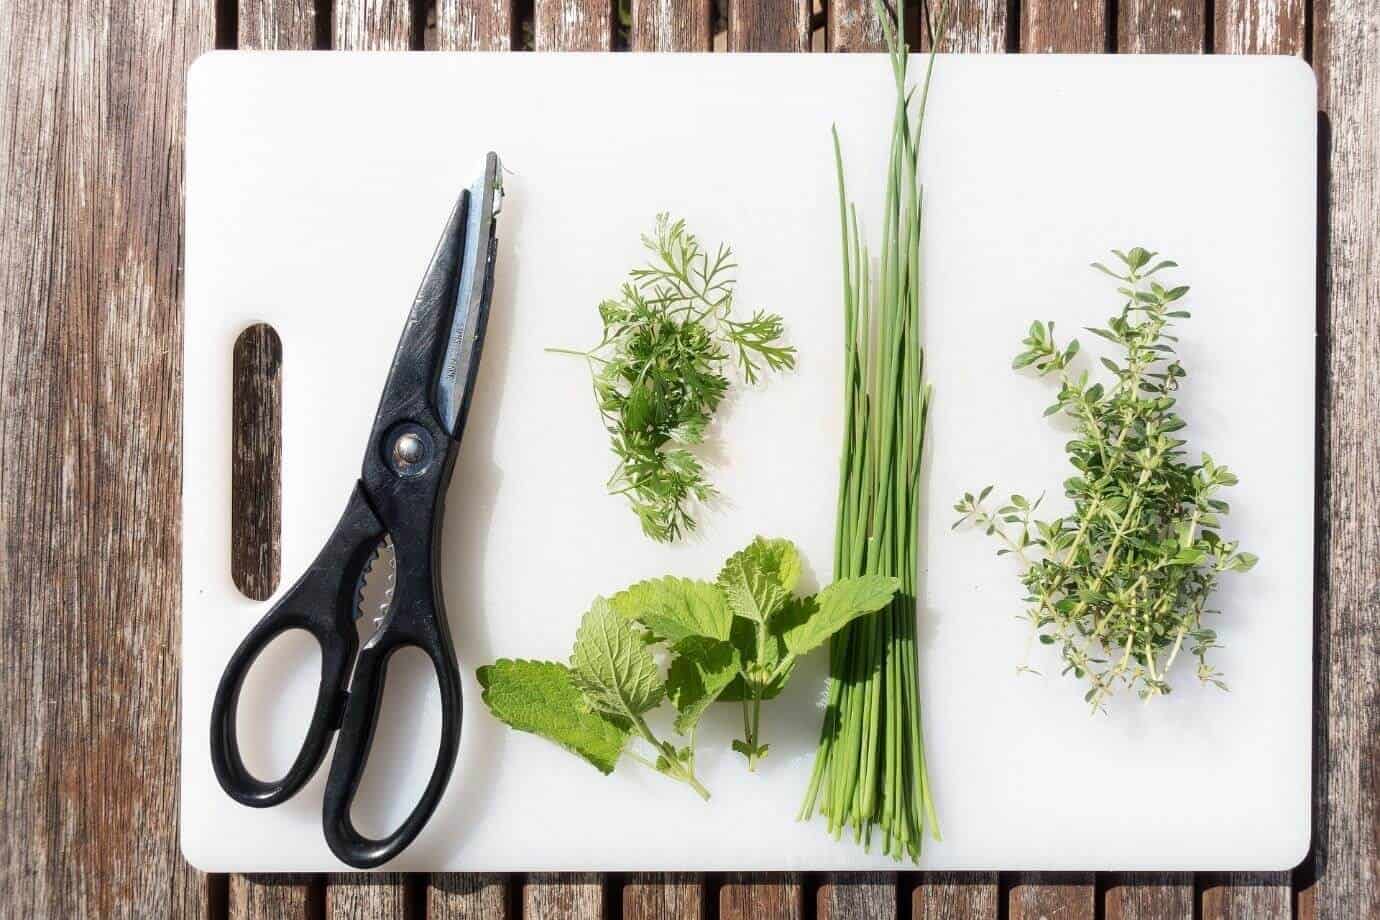
Sharpening Tools
Before we tell you about sharpening your shears, you need to select a tool through which you can bring their original glory back. We have listed some of the common sharpening tools.
- Hand File- A hand file is similar to a hand saw with a wide blade. It is made from a high-carbon steel bar, and its teeth are cut, raised, or pressed into the steel. Most gardeners commonly use this tool for sharpening their shears.
- A Stone- You can use a stone to sharpen smaller garden shears that have smaller blades. What you can do is slide the stone along the blade in one direction.
- A Grinding Stone Or Drill Attachment- If your blades are profoundly large and seriously dull, a grinding stone or a drill attachment will sharpen them well. Both of them are powerful tools and would require you to wear protective eyewear.
Steps To Sharpen Your Garden Shears
Prior to following the step for sharpening your garden shear, there are certain safety measures that you should follow.
- Wear Protective Gloves- It is important that you should cover your hand while sharpening and cleaning. Use thickly layered or heavy-duty gloves so that your hands don’t get cut while working with the blades.
- Wear Goggles- You also need to protect your eyes while sharpening. A great way to do this is to wear goggles as this will prevent the shards of rust and metal from entering your eye.
- Seek Medical Help- If you get hurt or injured during the task, immediately seek medical attention. Also, keep your children away while you are busy sharpening.
Step 1 – Clean The Shear
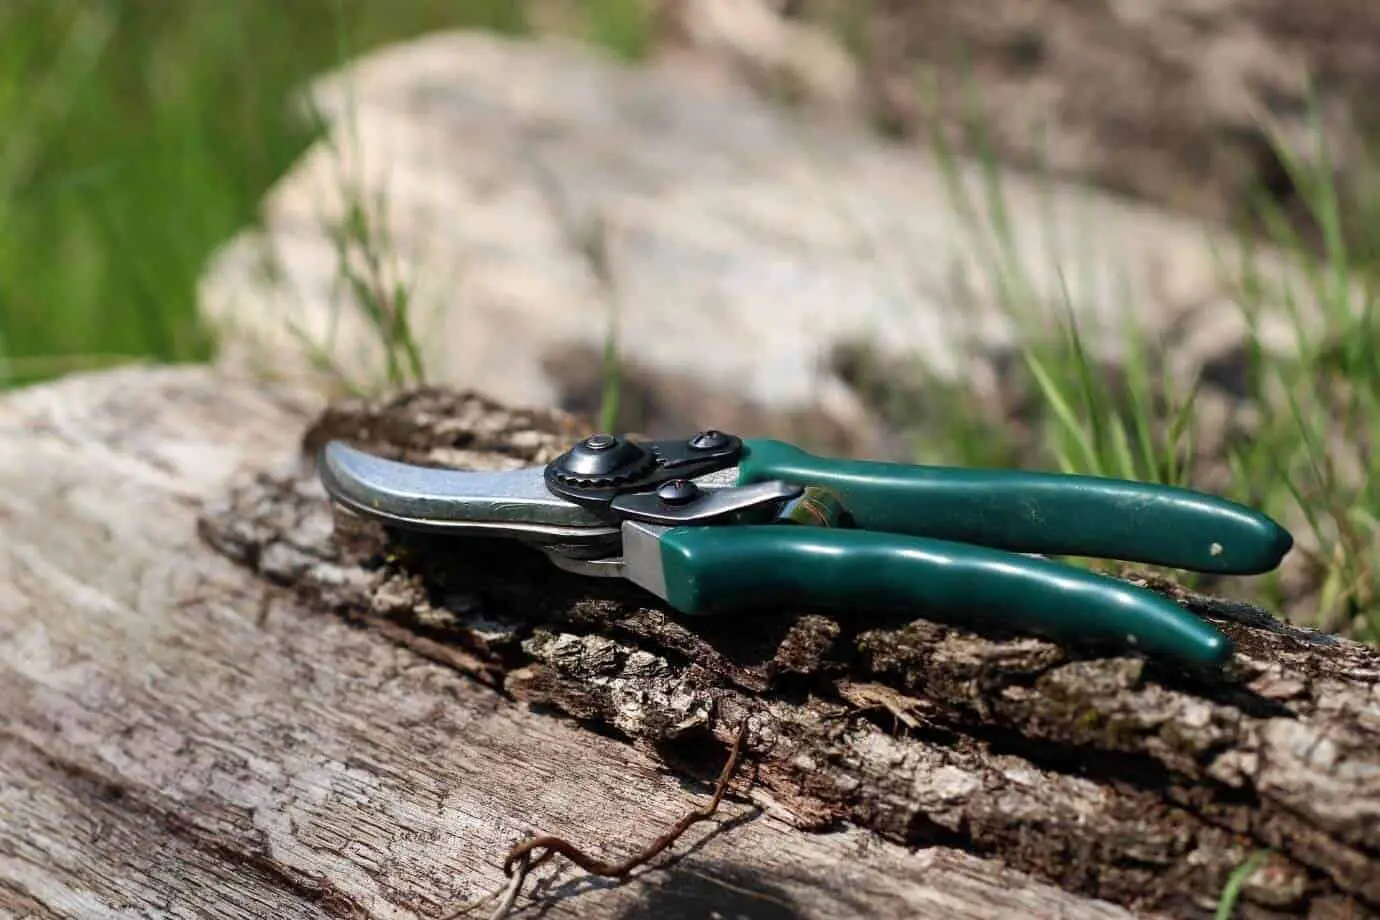
The first thing you need to do is clean your shear precisely because it won’t cut cleanly if the surface is grimy. What you can also do is separate the blade of the scissors if possible. For this, you need to remove the nut that holds the two pieces of the blade in their place.
Now you can wash the blades in soapy, warm water using a brush or a scouring pad. Take care of your hand while cleaning the blades, and don’t get hurt in the process. Once you have removed the dirt and debris from the blade, you should wash it with clean water to remove the soap.
After this, let your blades dry for some time, or you can also use a dry cloth for drying them. The last thing you need to do before moving to the next step is to examine the blade for any kind of rust. It is common for your shears to have rust on them, and it is essential that you remove them prior to sharpening. Use a medium-steel wool piece and remove the rust from the shear. Plus, after removing the rust, wash and dry the blade again.
Step 2 – Sharpening The Shear
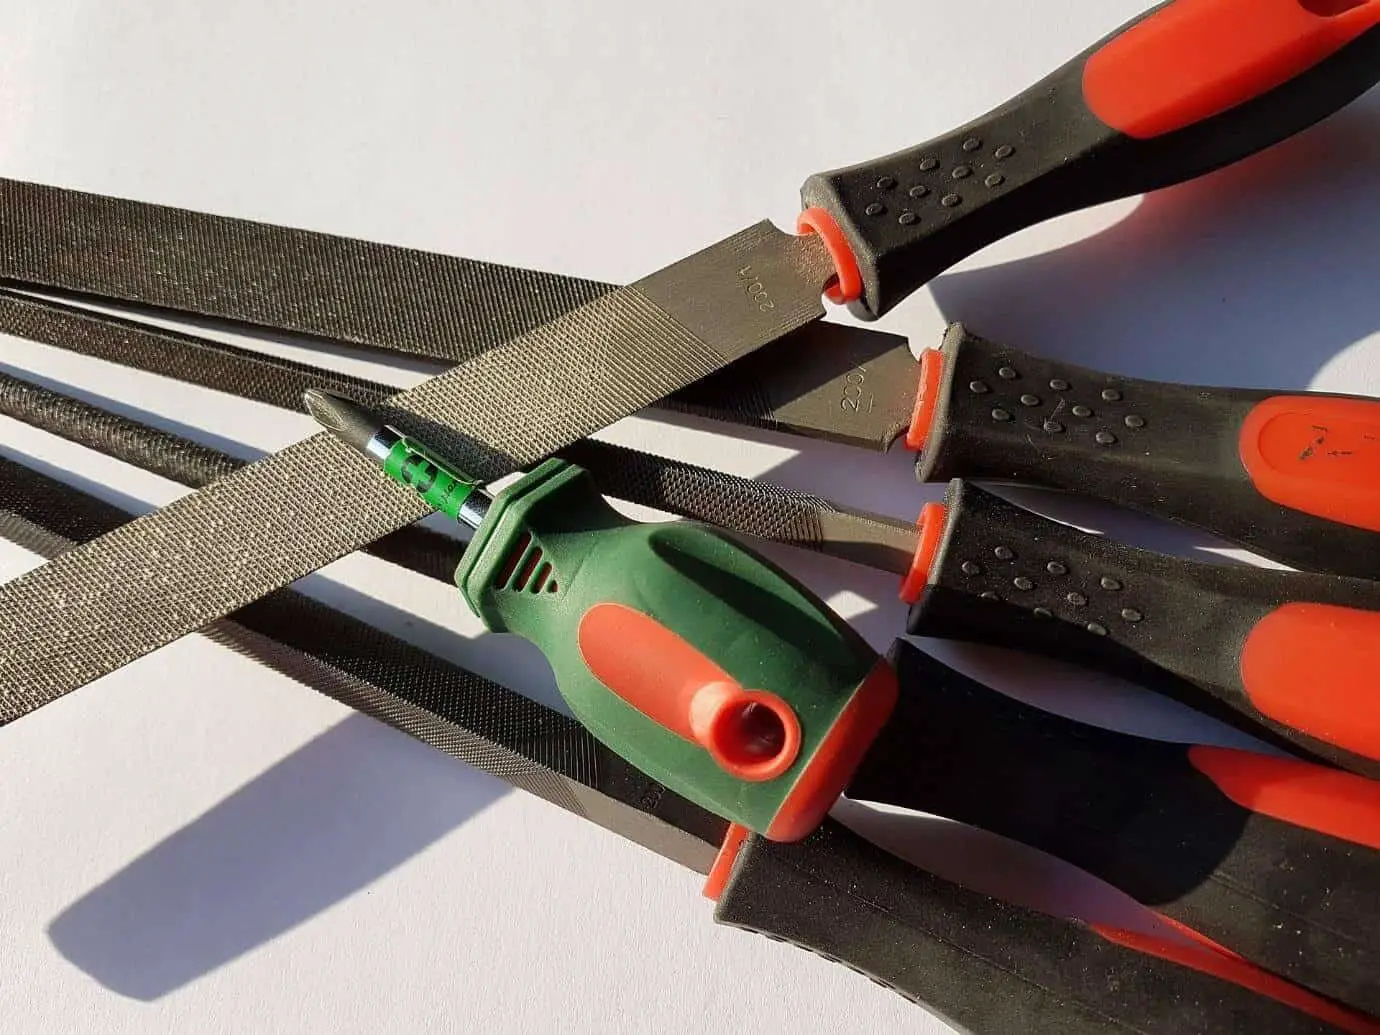
The next step can be intimidating, but it is important for the efficient functioning of the blade. To begin with, first, find the angled edge, and keep your shears in the open position. For best results, you need to begin with the coarsest hand file and make your way to the finest.
Starting from the inside of the blade, use medium pressure and then draw the file tool towards the tip of the blade in a curved movement that is similar to the shape of the blade. This movement is safe and easy to follow and works every time.
For a well-maintained shear, in between 10-20 draws, using a diamond sharpener is ideal, but the poorly maintained one would require 40-50 draws.
If you own the anvil or bypass style shears, then you only need to sharpen the beveled cutting blade.
Lastly, finish by eliminating the burrs by moving the extra-fine file over the blade’s backside a few times.
Another way you can remove the burrs is by using a 300-grit wet or dry, smooth sandpaper. Place this sheet on a flat, smooth piece of plywood. After filing, you will be able to see the burrs at the backside of the blade. To erase them out, gently sand the burr side of the blade carefully. After doing it for several minutes, pick the blade and delicately feel the edge. When the burr has left your shear, you can move on to the next step.
Step 3 – Lubricant

After you are satisfied with the blade’s sharpness, apply silicone or dry lubricant to prevent rust and oxidation. You can also use linseed oil over the blade to prevent rust. Dip a moist, soft cloth in the oil and then wipe it over the garden shear’s blades.
Applying lubricants or oil in your garden shears would bring back their efficiency. Plus, they will also keep them safe from corrosion and other types of wear and tear. This is an important step to ensure the efficient cutting of your shear.
Day to Day Maintenance Of All Your Garden Tools
At the end of every gardening work, spend some time to:
- Drench out soil and mud from all your gardening tools through a garden hose. Clinging wet soil is the primary reason for the rust on your tools.
- Scrub out the soil using a brush, and then pick-up paints thinner to remove the patch or sap.
- Use a towel to dry off your tools or let them dry under the sunlight.
- Periodically mop with a gentle coat of oil for maintaining the sharpness of the tools.
Some Additional Tips
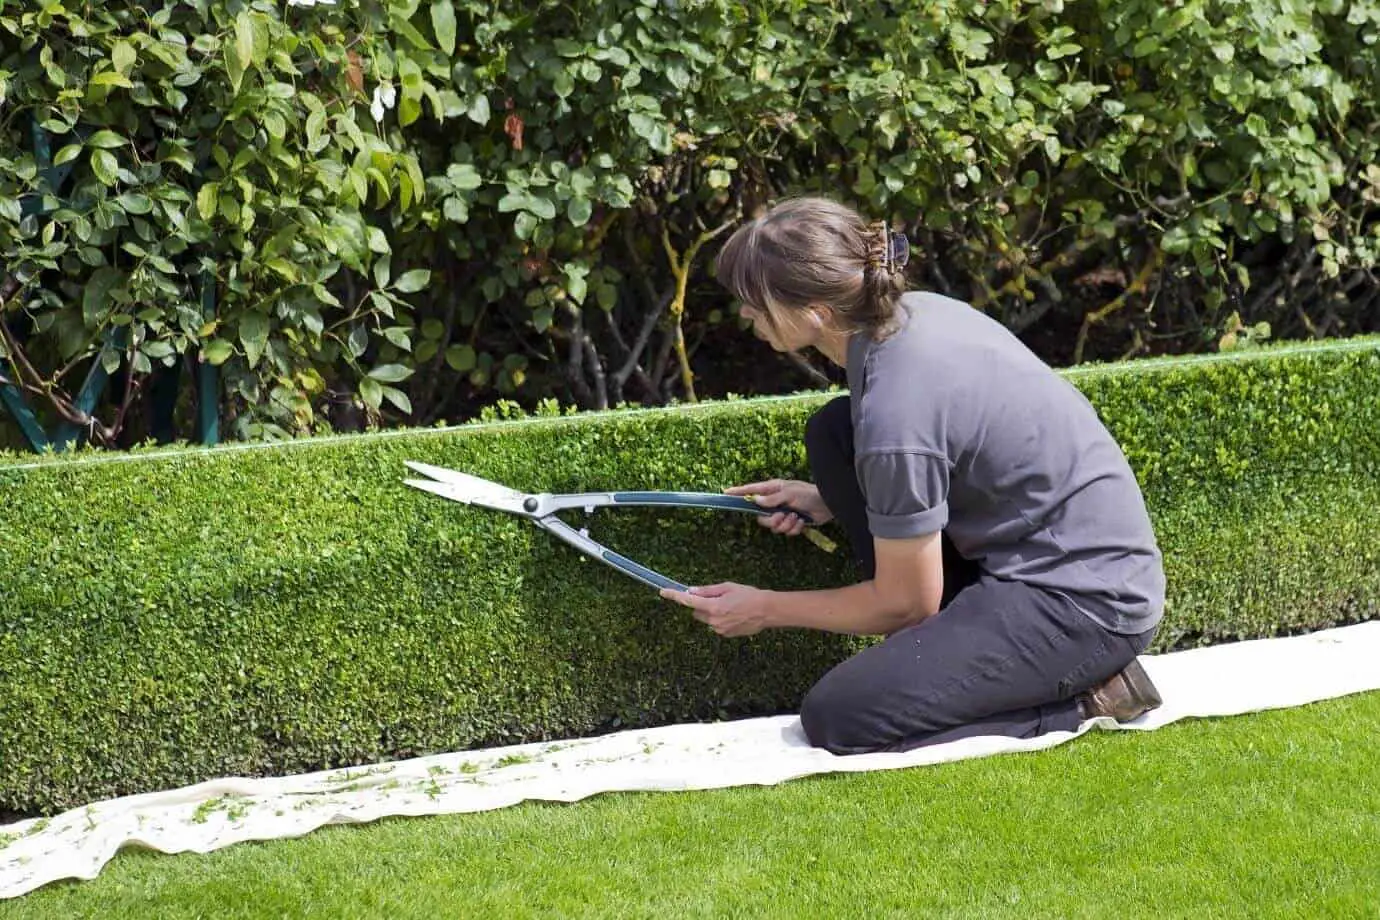
- It is best if you make a habit of washing or cleaning your tool after every use. This will keep your tool in perfect shape. Also, if you store the shear away without cleaning, then the dirt and debris would stick on your blades, and it would be challenging for you to remove them.
- Next, when it comes to storing, it is best to place them in a dry and safe area. Moisture is a sworn enemy of your gardening shear, so cover them after every use.
- After using your tools and brushing off the debris, stick the tools inside a bucket of sand. The grain will help to keep the blades of the shear nice and sharp. If you don’t have much time for sharpening the tools following the above-listed step, then the best you can do is put them in a bucket of sand (add oil) for a simple and quick tune-up of your shear.
Conclusion
Maintaining the garden is a tedious task. With the efficiently working gardening tools, you can enhance the look and appeal of your garden. One of the important tools to make your gardening chores easier is garden shear. This tool helps you to give a proper shape to your plants and enhances their beauty. Therefore, your shear must be well-maintained, and for that, you need to sharpen them well. We have listed all the possible ways through which you can sharpen your garden shears. Remember, a well-maintained shear will ensure a well- maintained garden.
Want to know more about gardening ?
Fill in your email address in the form below and you'll receive all the latest updates directly in your in-box.
Thank you for subscribing.
Something went wrong.