This is the 2nd article out of 6 in our recently published Worm Farm Series.
If you weren’t already convinced about having a worm farm in your garden, hopefully Part One of this series helped you to see that a worm farm is more than just a handy way to compost.
So now you need to know how to set your worm farm up, right?
Before we get to that though, it’s worth looking at the types of Worm Farms available.
Which Type Of Worm Farm Is Best?
There are a few options when it comes to which worm farm to build or invest in, and much of it depends on how much you want to spend, how much DIY effort you want to put into setting the farm up, how much space you have and also how serious you are about getting the by products of worm farming from your set up.
Single Bin Worm Farms
A single bin worm farm can be easy to set up, and doesn’t require a great deal of investment. You can choose to create your farm with your DIY skills, or simply buy a few basic items and create your farm.
With a single bin farm your worms are kept in one bin, and are left to compost what they are fed in that one bin. You may have a run off system for the worm tea with an additional container underneath your main bin to collect the worm tea or you may choose an open base system where the worm tea simply runs back into the soil.
With most single bin systems you will need to remove all unprocessed waste, and the worms, to harvest your vermicast.
Some examples of single bin worm farms are:
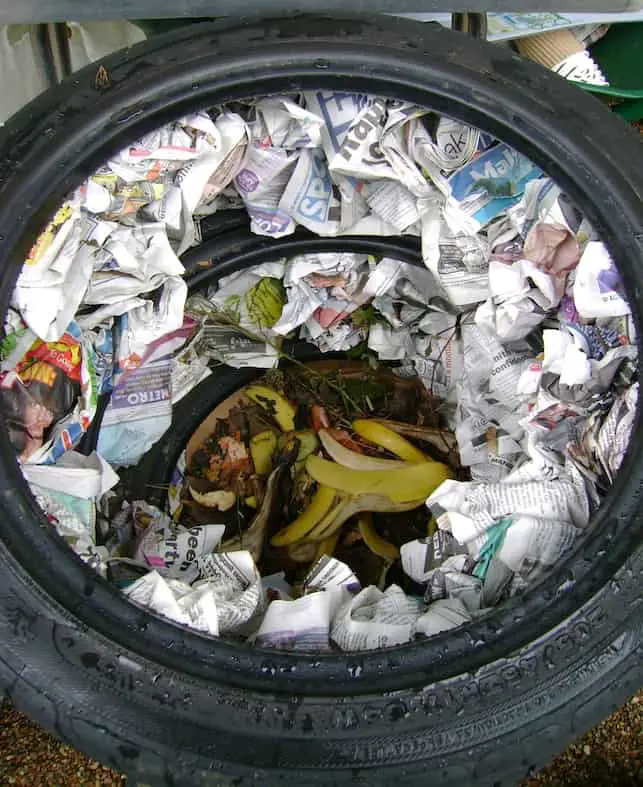 DIY Tyre Worm Farm
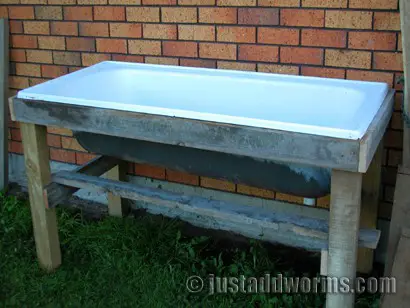 DIY Bath Worm Farm
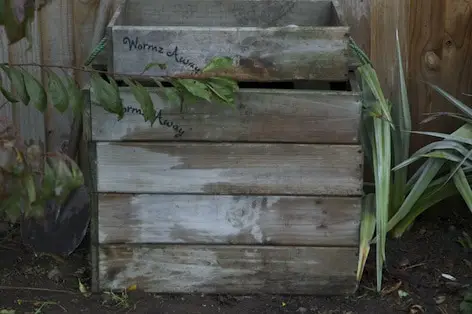 Wooden Worm Farm
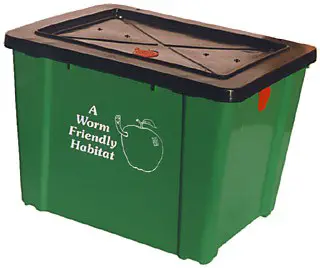
Storage Container Worm Farm
Multi-Tiered Worm Farms
Multi-tiered worm farms are designed so that there is no need to remove the worms or unprocessed waste to harvest the vermicast. Instead, because compost worms are surface dwellers, they are naturally inclined to keep moving up the farm once they have done their job and ‘finished’ one tier, and leave the processed waste clear and ready to be harvested.
To harvest the vermicast you simply remove the tier that has been completely processed, empty it out, clean it and return it to the top of the farm to start filling with more waste.
Some examples of multi-tiered worm farms are:
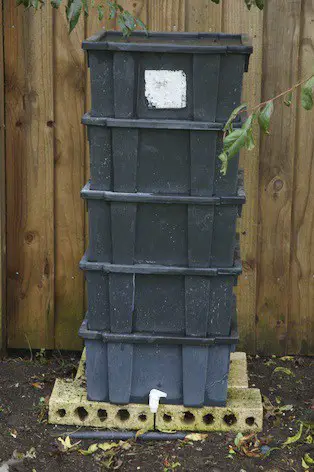
Multi tiered worm farms
Continuous Flow Systems
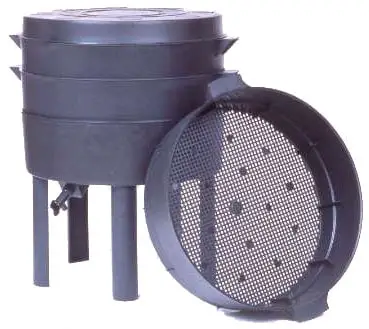
Continuous flow worm farms similar to the single bin system, but are designed in a cone shape with the smaller end of the cone facing down.
As waste is added, the worms convert it and move up through the cone. The compost created compacts down towards the cone end, with the worm tea also naturally filtering down the taper to drip out of drip holes at the bottom of the cone.
Removing the vermicast from continuous flow systems like the Hungry Bin is easy, with a tray that is easily removed, and the castings accessed. The worm tea is collected in a tray place underneath the farm.
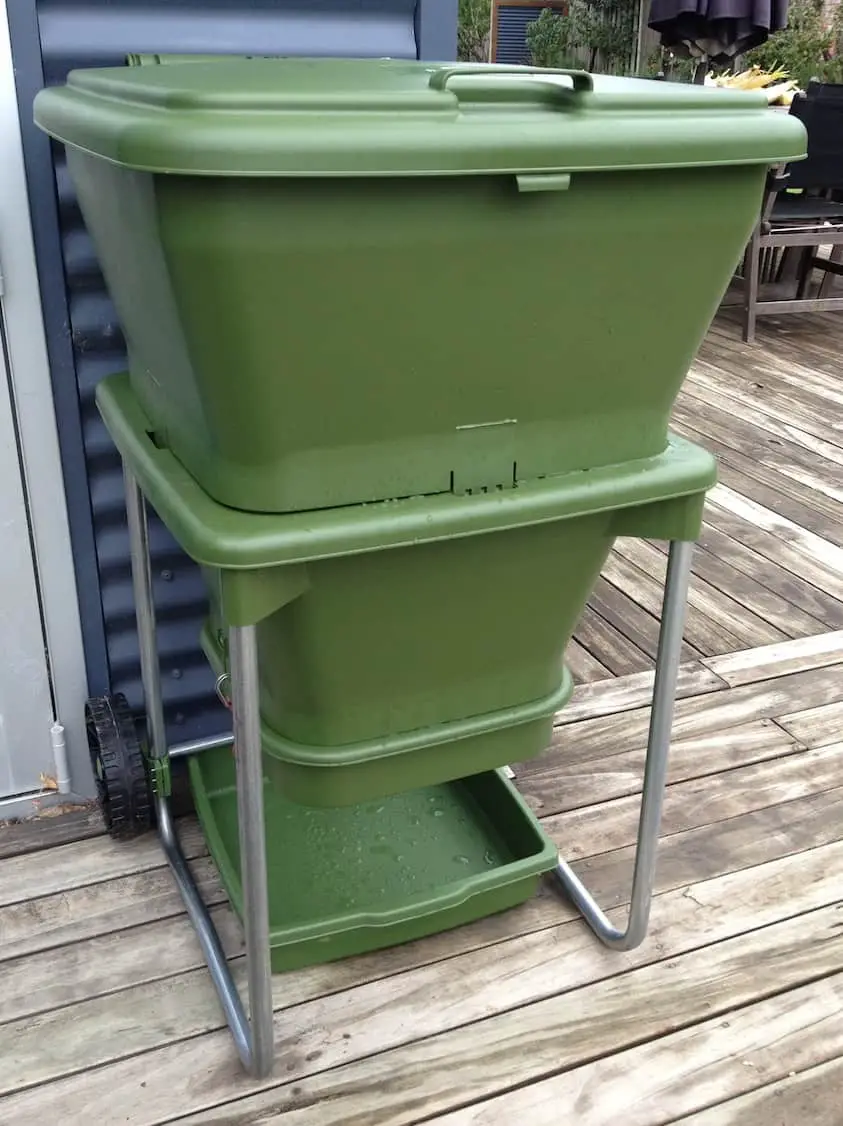
A great continuous flow system is The Hungry Bin seen below.
Additional Considerations
Plastic vs Wood –
Some plastic worm farms can become a problem due to ‘sweating’ and a lack of ventilation. This causes them to become sludgy, compacted and unproductive, and the worms with often either vacate the farm, or be killed due to a lack of space and air. Its important if you are using plastic to make sure it has good ventilation holes, isn’t in a location that get’s full sun all day, and that you provide the right amounts of food, with a good mix of food waste and waste that will help to aerate the farm such as card, newspaper or toilet rolls.
Processing Power –
the size of your family, and consequently the amount of waste you produce, may impact the worm farm you decide to set up. If you have a lot of waste produced in your home, or you have access to a lot of extra waste that you can turn into fertilizer and compost, then you may decide to create a larger scale worm farm to cope with the load. The DIY Bath Tub worm farm has a large surface area and can handle taking in a larger amount of waste each day.
Where –
If you plan to have your worm farm parked up outside your back door, you might want to pick a farm that is not too hideous to look at, is well sealed so odors don’t become a problem, and is simple and tidy to work with so you don’t end up with waste and compost spilled outside your back door.
Best Location For Your Worm Farm
Once you’ve decided which worm farm you are going to start out with, the next decision is where to put it.
There are a few things to consider when planning on the location for your worm farm.
Easy Access –
locate your worm farm somewhere that is reasonably easy to access, and will encourage you to put your waste into the farm. There’s no point having a worm farm hidden in the very depths of your garden and never wanting to venture near it.
Temperature –
choose a spot that doesn’t get a whole day of direct sun, but also doesn’t sit with no warmth what so ever. The best spot is somewhere that gets moderate sun during the day, but also shades over for part of the day to prevent overheating and excessive ‘sweating’ in the bin.
Keep It Dry –
worms farms do not perform as well if their home gets too wet. They like their food moist, but not saturated and enough rain will fill a farm and drown your worms so choose a location that is protected from excess rain.
Pest and Pet Free –
this is particularly important if you are using one of the worm farms that can be dug under, or accessed from above. Choose a location where pets and pests can’t dig into the worm farm and not only make a mess, but also possibly kill off your worm population. Rats and mice can decimate a worm farm in a very short time.
Room To Harvest –
make sure your location provides ample room to be able to not only get to the worm farm, but also to harvest the vermicast and the worms if you decide to sell your excess stock. Some farms require a good area to empty out the contents to get either the vermicast or worms.
So, once you’ve decided which type of worm farm you want to purchase, and where you are going to put it, we can move onto how to prepare your worm farm and move your new friends in Part 3.
Want to know more about gardening ?
Fill in your email address in the form below and you'll receive all the latest updates directly in your in-box.
Thank you for subscribing.
Something went wrong.